Before you get started, Conduit should not be listening on any ports that are accessible to the public Internet. In this guide we'll set up a Conduit instance that can be reached through the public Internet via SSH. We'll start at the top with a fresh AWS Account. In the end, the topology will look like this:

Create a new VPC
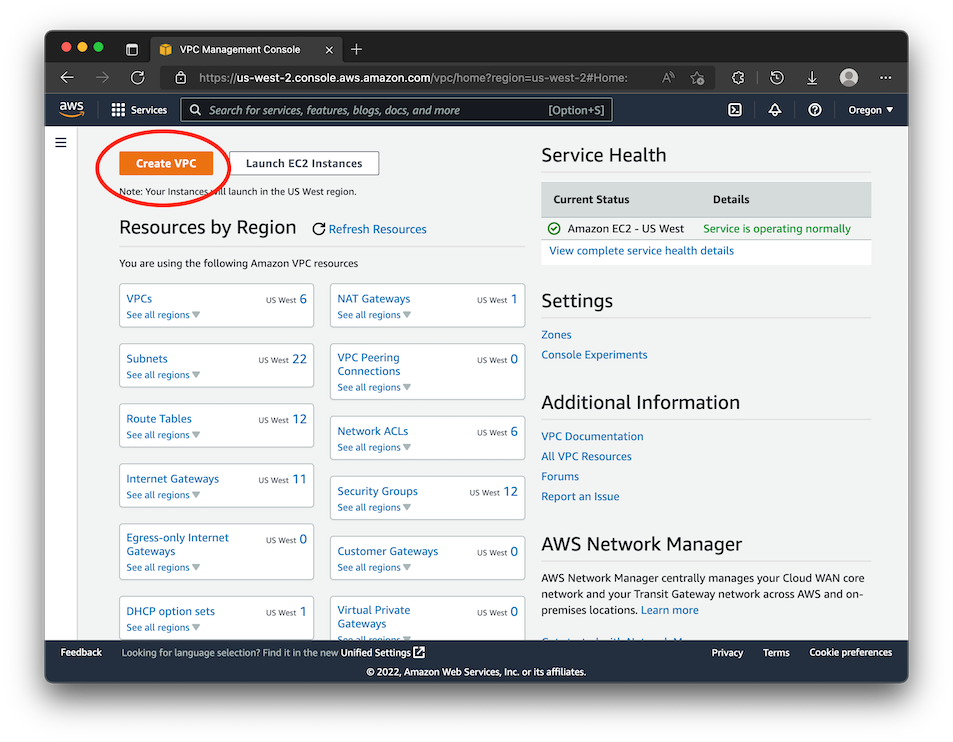
Start by logging into the AWS console, in your region of choice, and navigate to the VPC service. Click the Create VPC button at the top of the page.
We'll select the Create VPC and More option within the page. This option will create all the default networking needed to create a VPC that can route traffic internally to it and reach out to the internet. But, the VPC will not be able to accept connections from outside the VPC to it. You'll need to add at least one NAT Gateway to the VPC to make that possible. If you don't, you will not be able to access the instance via SSH.
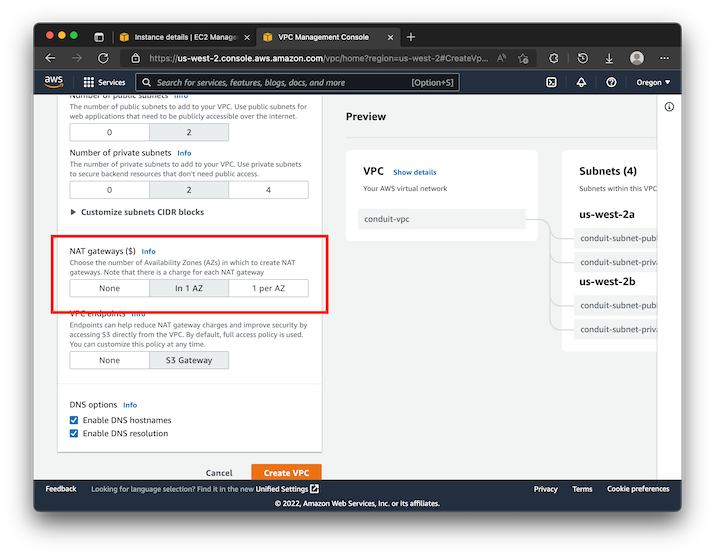
You can leave the rest of the defaults and click Create VPC. Make sure that once you've completed the VPC setup, you get a copy of the VPC ID. We'll need this in the rest of the setup. We'll use vpc-1234 as a placeholder value in this guide.
Launch a new EC2 Instance in your VPC
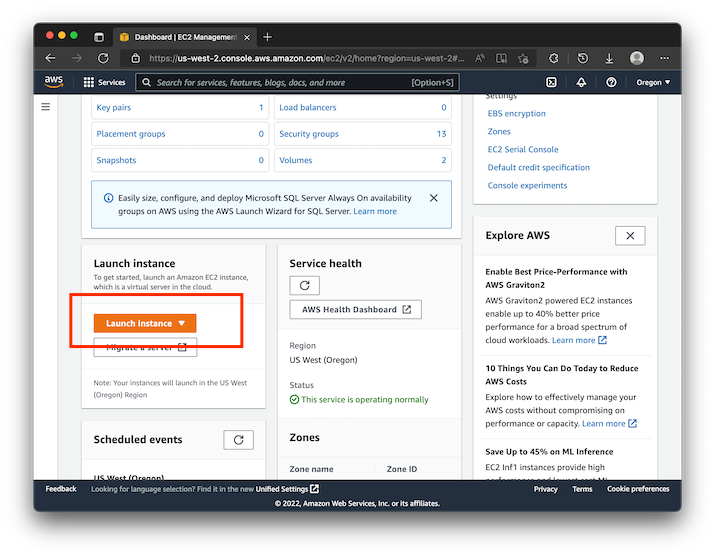
With the VPC set up, it's time to launch an instance that'll run Conduit. Navigate to the EC2 Service in the AWS console and create a new instance:
We recommend using the Amazon Linux 2 AMI, SSD Volume Type as the base for your instance. The AMI should be selected by default. A t2.medium instance is sufficient for most production setups. Your resource requirements might be higher depending on how many systems you'll need to connect.
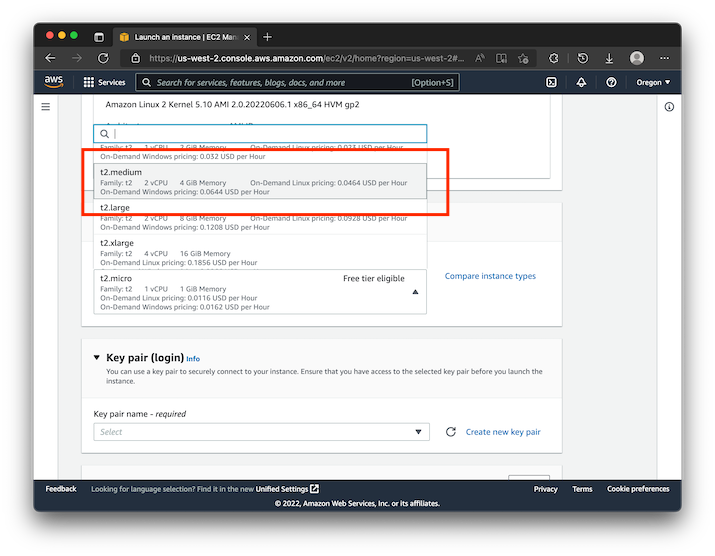
In the setup of the EC2 instance, you'll want to click on the Create new key pair button. This will create a new SSH key for access to the instance. Don't forget to give it a name to be able to identify it within AWS.
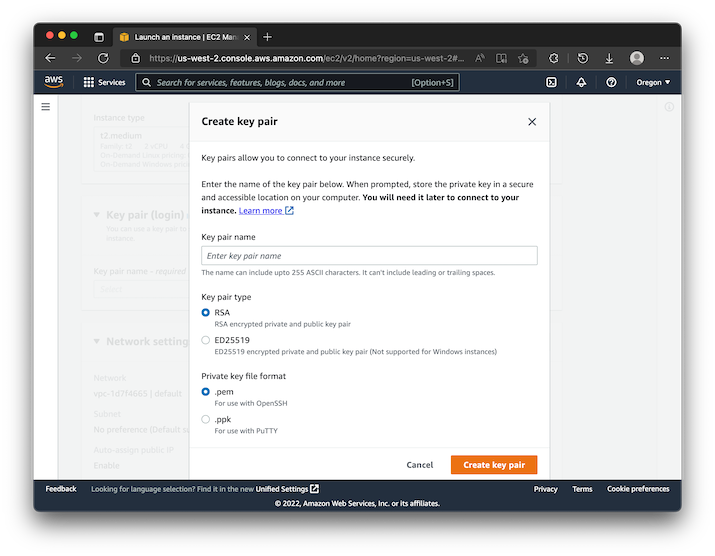
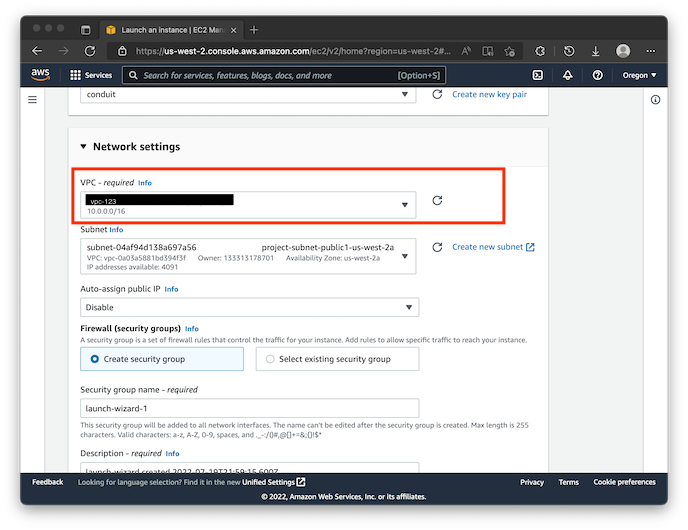
After you hit create, you'll download a .pem file for use on your machine. From here, you'll want to select the VPC that you just created in the previous step. Also, make sure you select a public subnet:
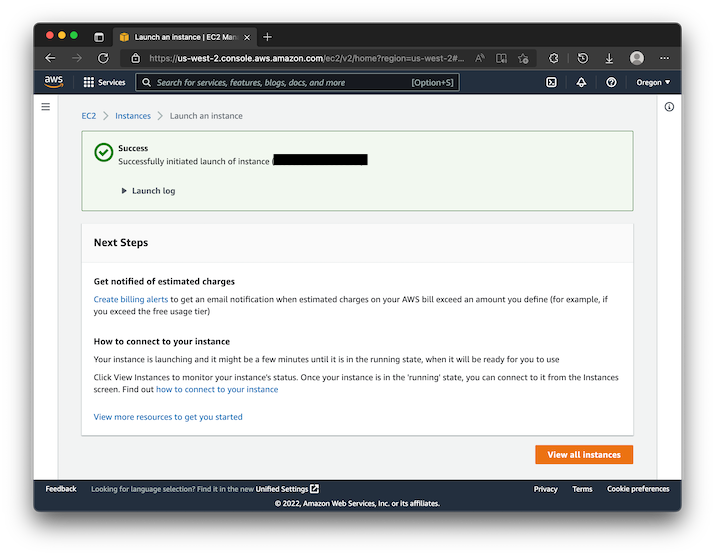
Now you're ready to launch the instance.
Install Conduit on the Instance
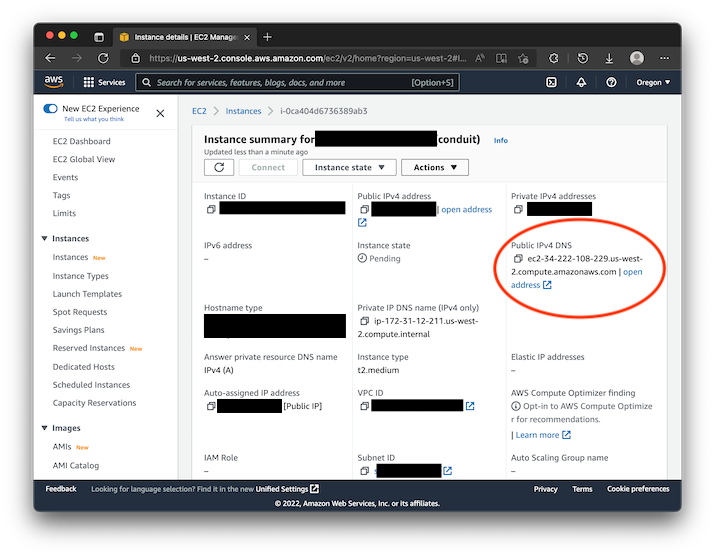
Before we can begin installing Conduit, we need to be able to SSH into the newly created instance. Grab the Public IPv4 DNS address from the EC2 Instance detail page.
Let's SSH into the instance. With the newly created Key Pair, follow these commands. Don't forget to change PUBLIC_IP_V4_ADDRESS to the address that you got from the EC2 instance page and change LOCATION_OF_PEM_FILE to place where it exists on your machine:
$ export SSH_KEY=LOCATION_OF_PEM_FILE
$ chmod 400 $SSH_KEY
$ ssh -i $SSH_KEY ec2-user@PUBLIC_IP_V4_ADDRESS
We're going to need to download the latest released version of Conduit. You can go the releases page on the Conduit repo in GitHub and find the version that you need, or you can copy and paste this command on the machine to do it for you:
$ TAG=$(curl -s https://api.github.com/repos/ConduitIO/conduit/releases/latest | grep "tag_name\": \"v[0-9.]*" | grep -oE '[.0-9]+') && curl -o conduit.tgz -L "https://github.com/ConduitIO/conduit/releases/download/v${TAG}/conduit_${TAG}_Linux_x86_64.tar.gz"

  % Total    % Received % Xferd  Average Speed   Time    Time     Time  Current
                                 Dload  Upload   Total   Spent    Left  Speed
  0     0    0     0    0     0      0      0 --:--:-- --:--:-- --:--:--     0
100 16.1M  100 16.1M    0     0  11.7M      0  0:00:01  0:00:01 --:--:-- 26.3M
What's going on in that command
There's a lot going on in that command. Let's break it down. The first part will find what the latest version is and put it into a variable:
$ TAG=$(curl -s https://api.github.com/repos/ConduitIO/conduit/releases/latest | grep "tag_name\": \"v[0-9.]*" | grep -oE '[.0-9]+')
Once we've got the variable, it gets used in the next part which will download the specific version number from the GitHub downloads for Linux. If you needed to do this for a different operating system (Windows or Darwin), you'd change that in the file name. A .tgz file will then be downloaded to your machine.
$ curl -o conduit.tgz -L "https://github.com/ConduitIO/conduit/releases/download/v${TAG}/conduit_${TAG}_Linux_x86_64.tar.gz"
Finish up Installation
Now that we've got conduit.tgz downloaded, we need to expand the archive:
$ tar zxvf conduit.tgz
x LICENSE.md
x README.md
x conduit
Then we can copy the conduit binary to a place where it can be accessed by the system. We'll put it in /usr/bin.
$ sudo cp conduit /usr/bin
Next we'll create a place for Conduit to store all of it's temporary files:
$ sudo mkdir -p /var/lib/conduit
$ sudo chown -R ec2-user /var/lib/conduit
Conduit has now been installed on your EC2 instance but we're not quite done. Let's set up a few more configuration items before we start running pipelines.
Add Conduit to Systemd and Start it!
Any time the machine needs to restart or if the process fails, you'll want the machine to restart Conduit. We'll want to add a startup script to the machine. Make sure that you've created an SSH connection to the instance first. Now you're ready to create the appropriate systemd folders and create the unit file:
$ sudo mkdir -p /usr/local/lib/systemd/system
$ sudo chown -R ec2-user /usr/local/lib/systemd/system

$ printf "[Unit]\nDescription=Conduit daemon\n\n[Service]\nType=simple\nUser=ec2-user\nWorkingDirectory=/var/lib/conduit\nExecStart=/usr/bin/conduit\n\n[Install]\nWantedBy=multi-user.target" >> /usr/local/lib/systemd/system/conduit.service
An example of a systemd script can also be found in the Conduit repo itself in the /scripts directory.
Now that we have the script ready to go, we can add Conduit to systemd:
$ sudo systemctl enable conduit.service
Great! Conduit is now being managed by the operating system. Any time you have a restart or something else, Conduit will automatically be restarted.
If you are choosing to use a different Linux distro than the one provided by Amazon, you may be working with a different init and system manager. How to add Conduit to other managers is outside the scope of this guide.
Finally, start up Conduit!
$ sudo systemctl start conduit.service
Connect to Conduit
Now that Conduit is running on the EC2 instance within your VPC, you'll need to connect to it via SSH and the forward a port from your machine to the Conduit instance.
Let's start by connecting to the instance. Don't forget to change the PUBLIC_IP_V4_ADDRESS to the one that you got from the EC2 Instance detail page:
$ ssh -i $SSH_KEY -L 8080:localhost:8080 -N ec2-user@PUBLIC_IP_V4_ADDRESS
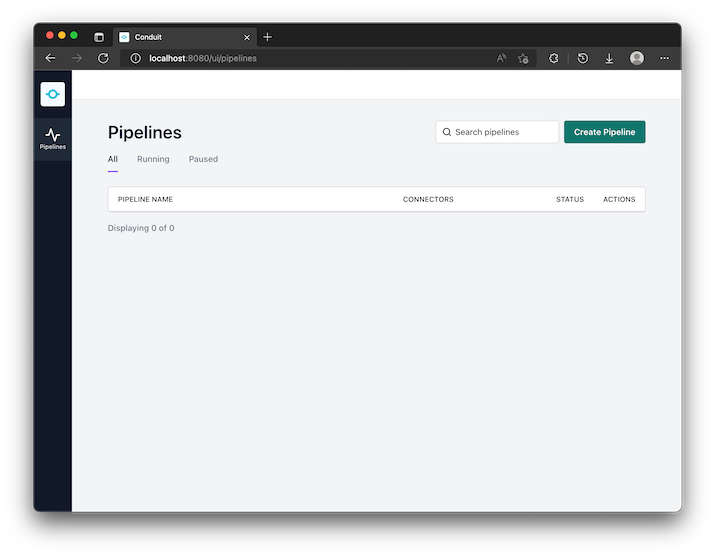
You're now able to create pipelines!
Troubleshooting
If you run into any issues, please join us on discord or create a discussion on the Conduit repo in GitHub.